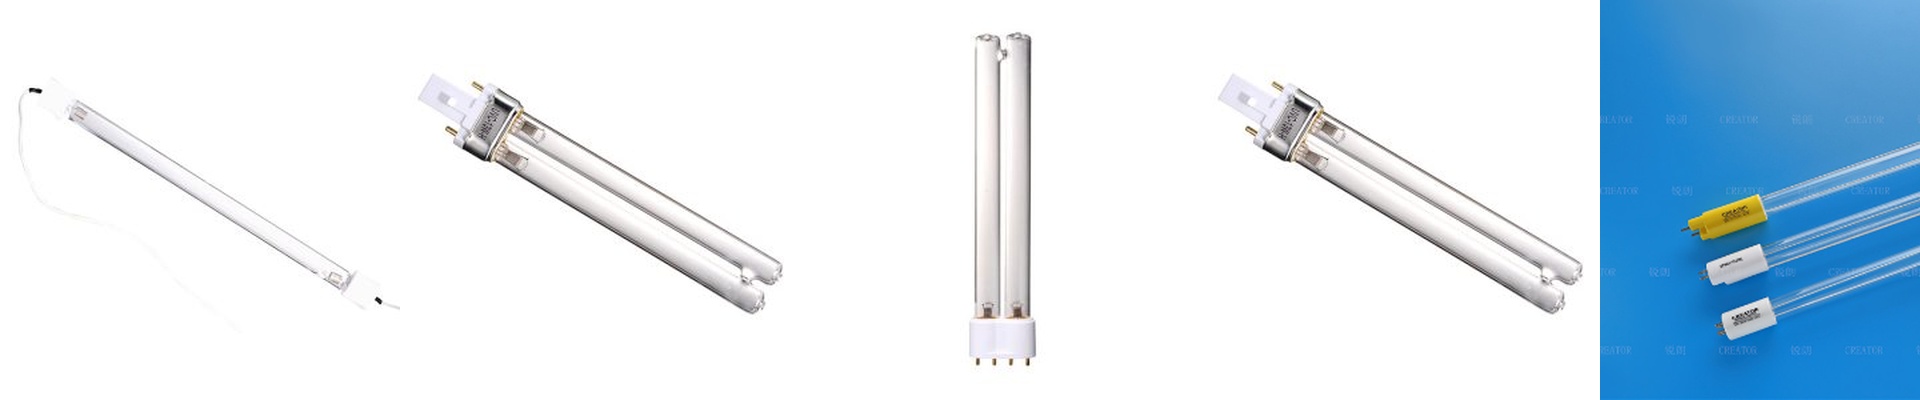
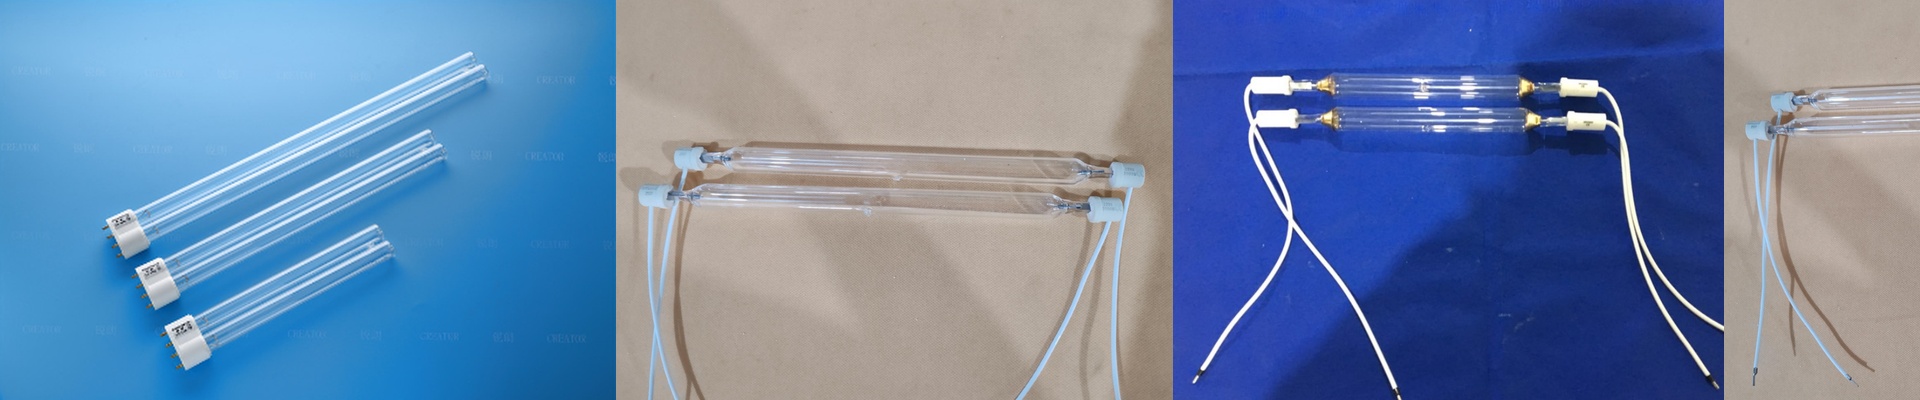
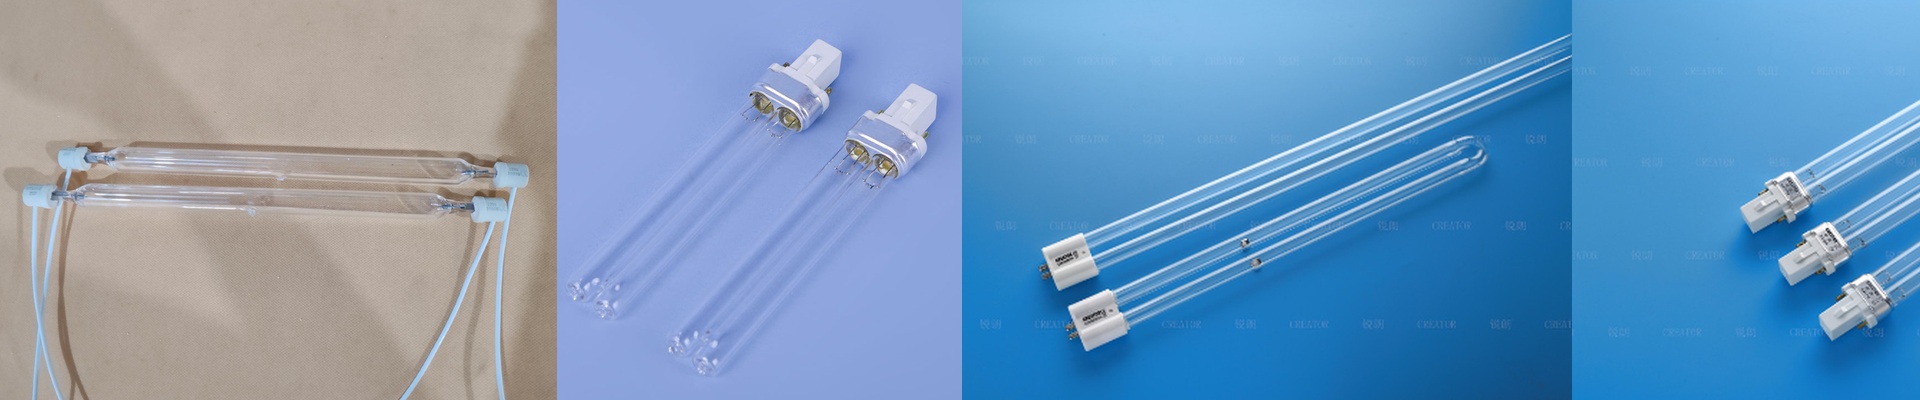
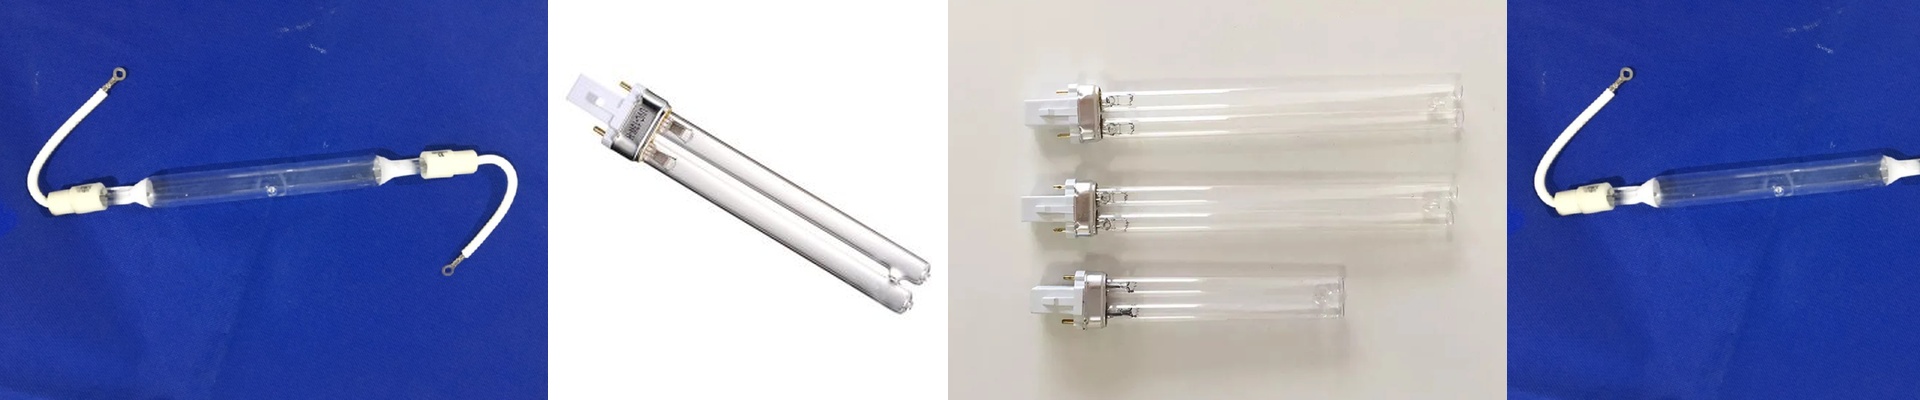
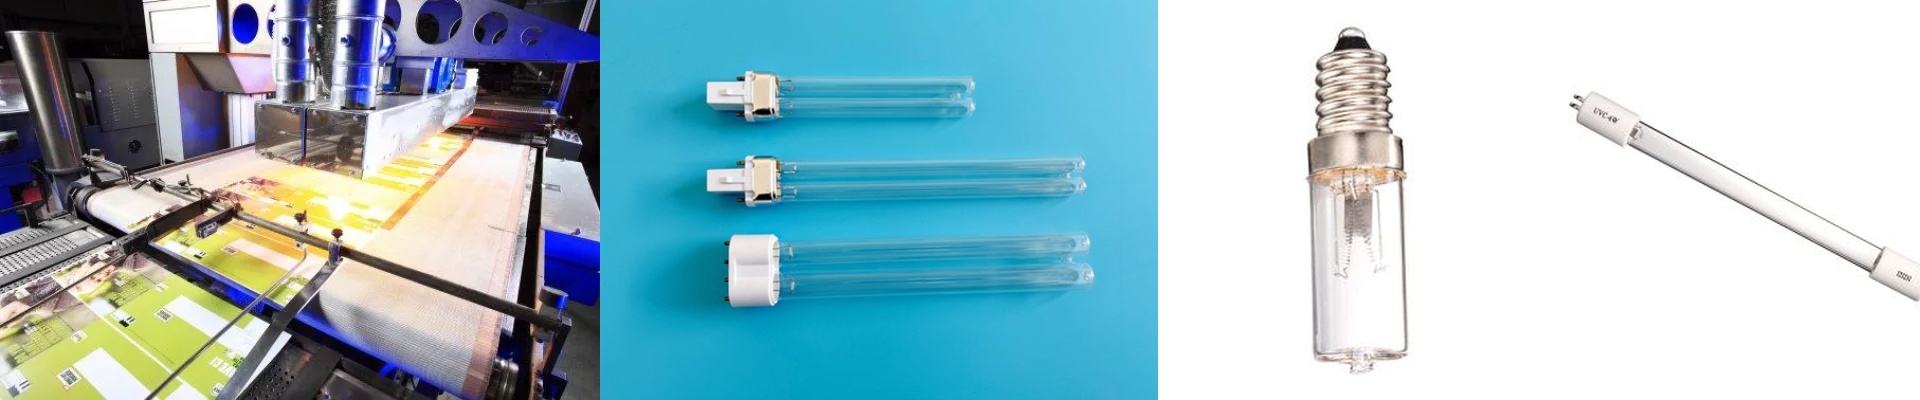
You know the scene: the stack is building up, and the prints that should be cured are still tacky. They’re picking and blocking as soon as you try to stack them. The first instinct is to blame the ink. More often than not, the real problem is staring you right in the face—your UV lamp has aged out, and the spectral output that used to drive full cross-linking has drifted. Tackiness is a curing failure, and curing failure is a radiometric failure. As the mercury vapor lamp ages, arc stability drops. The quartz sleeve loses transmission in the critical UV band, and the reflector’s dichroic coating degrades. The result is lower peak irradiance and lower delivered energy density (mJ/cm²) at the substrate plane—even when the power supply still reads nominal.
What actually matters: spectrum, irradiance, and delivered dose
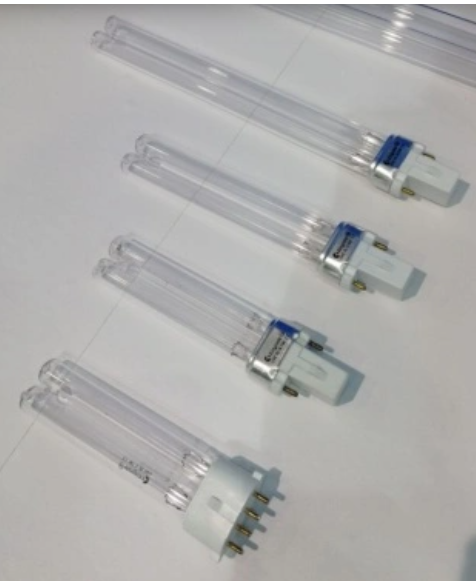
A Laguna UV lamp replacement isn’t just “a bulb.” It’s a matched system element, engineered to restore the intended UV-A output profile—centered on the 365 nm line, with the 385 nm and 405 nm bands contributing the way your ink’s photoinitiator package expects. In practice, that means getting the photolysis chain going again so polymerization can finish. Here are the specs that decide whether you cure—or just warm the ink:
- Peak irradiance (W/cm²) at the focal plane: Higher irradiance means faster radical generation, which is what lets you run higher press speeds without under-cure.
- Delivered energy density (mJ/cm²): This is the dose that actually completes cross-linking. It’s irradiance multiplied by exposure time, reduced by reflector efficiency and distance.
- Wavelength integrity: Mercury vapor lamps live and die by their spectral lines. As a lamp ages, the UV-A proportion drops and the effective profile shifts—exactly why the same ink can cure on a new lamp and stay sticky on an old one.
- Lamp life and stability: Output decay isn’t linear. After a certain arc-hour count, UV output falls off the spec curve while electrical characteristics stay within tolerance. That’s the kind of failure that hides in plain sight.
- Reflector and dichroic condition: The reflector shapes the beam and selects wavelengths. When the coating degrades, you lose peak irradiance and spectral selectivity—and that directly cuts your dose. A Laguna replacement is designed to bring the lamp-reflector assembly back to the original OEM spectral target, restoring the irradiance profile needed to fully convert monomers and oligomers.
On the floor: troubleshooting that gets you back to stable curing
When prints are tacky, the question you need answered fast is: is it the ink, or is it the lamp? Run a controlled test. Use the same ink at the same line speed on a known-good reference sheet. If the reference cures and your production sheet doesn’t, the ink isn’t the variable. Next, measure delivered energy density at the substrate with a calibrated radiometer. Compare it to the ink supplier’s minimum dose specification. If the measured dose is below spec, the lamp and reflector system is the bottleneck. That’s exactly where a Laguna UV lamp replacement pays off—quickly, and in measurable ways:
- Dose comes back: A fresh lamp and reflector restore peak irradiance and stabilize delivered mJ/cm², so the ink cures at the press speed you planned to run.
- Curing becomes repeatable: Tack-free cure holds across shifts, substrates, and ink batches, which cuts down rejects and rework.
- Press settings stop chasing problems: When lamp output is stable, you set curing parameters once and run them reliably, instead of adjusting on the fly every time stickiness shows up.
- You stop wasting energy: A degraded lamp turns electricity into heat and ineffective light. Restoring output efficiency reduces wasted input energy per cured sheet. This isn’t about chasing max power. It’s about hitting the dose the ink chemistry needs, every time.
The practical details: compatibility, installation, and shop-floor constraints
A Laguna UV lamp replacement has to be installed as a complete functional unit—lamp, reflector, and connector interface—matched to the curing module.
- Match the interface: Confirm voltage, wattage, arc length, end cap style, and connector type for your Laguna curing station. A mismatch leads to alignment and electrical issues that show up as uneven cure or premature failure.
- Don’t reuse a worn reflector: If the reflector is pitted or the dichroic coating is delaminating, replacing only the lamp won’t bring peak irradiance back. Replace the reflector as part of the same maintenance job.
- Keep ozone handled properly: Standard high-pressure mercury lamps generate ozone. Make sure the ozone exhaust path is clear and the lamp housing seals are intact. Ozone-free variants exist, but only if they’re confirmed compatible with your ducting and airflow design.
- Check thermal and shutter alignment: UV modules are engineered around thermal loads and shutter travel. Verify lamp positioning and cooling airflow so you don’t create hot spots and localized under-cure.
- Match the ballast and ignition: The lamp has to match the ballast’s ignition profile and operating characteristics. A mismatch shortens lamp life and can distort spectral output. One trade-off you’ll feel immediately: a new lamp delivers higher UV output, which increases thermal load on the substrate and components. If you run at higher irradiance, validate that heat-sensitive substrates don’t distort and that the cooling system keeps temperatures where they should be. If prints are leaving the press tacky, don’t start by retuning the ink. Measure the delivered dose, check lamp age, and inspect the reflector. A Laguna UV lamp replacement is the fastest route to restoring the UV output curve your curing process was designed around—so the sheets come off dry, stackable, and ready for the next operation.