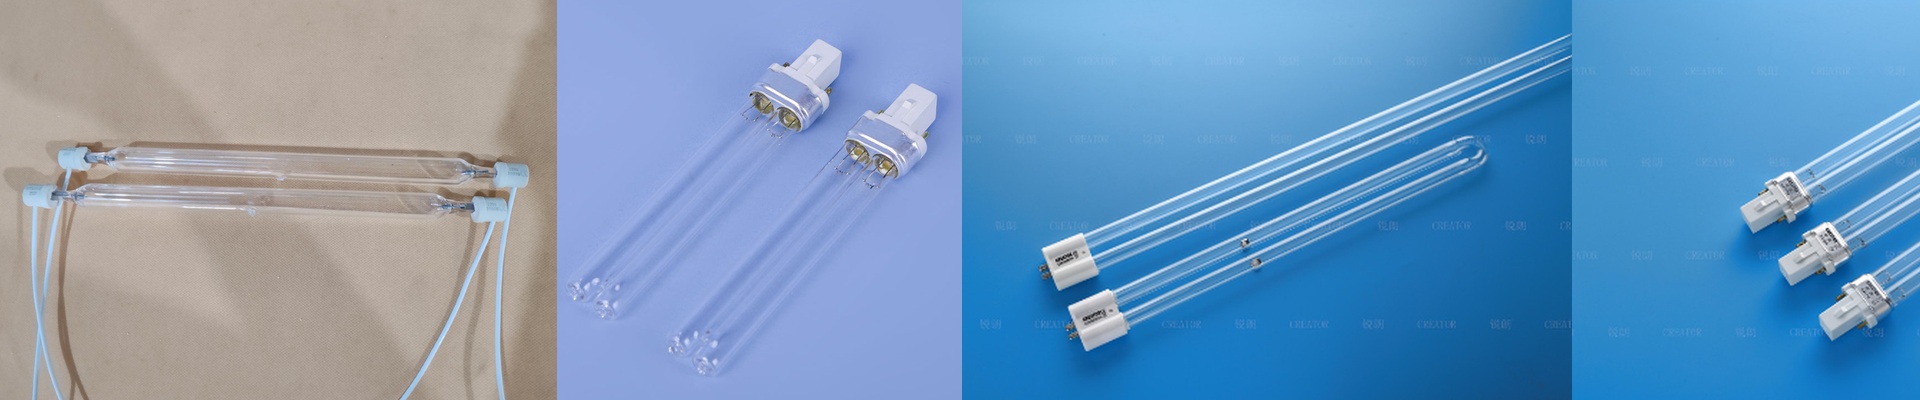
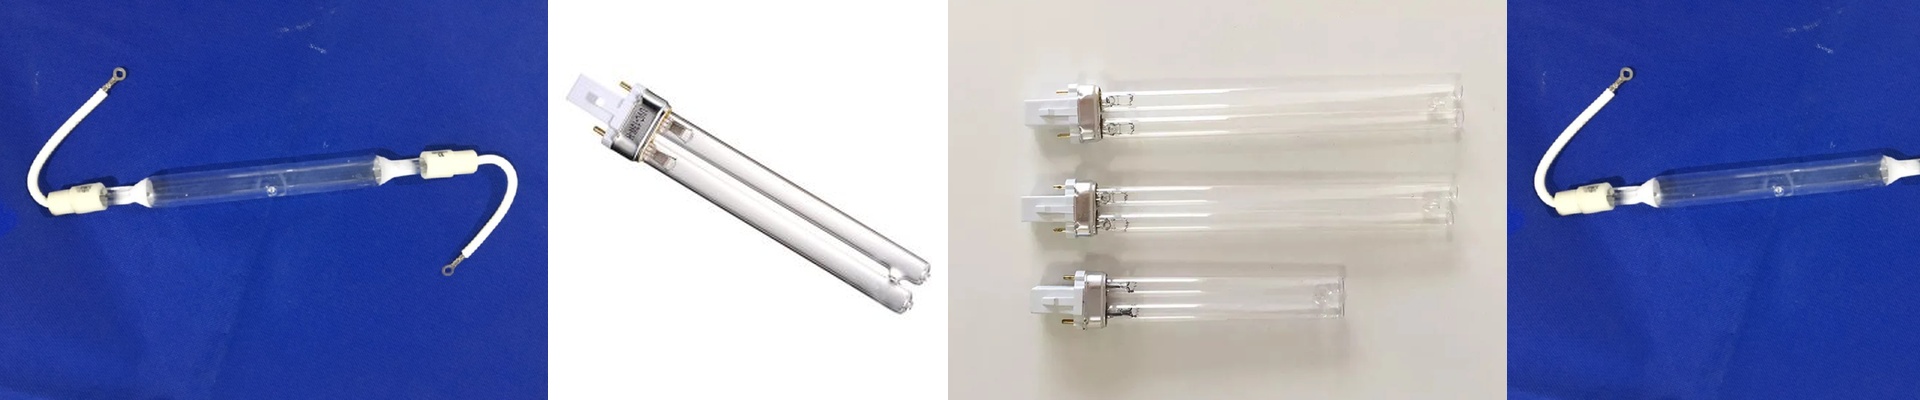
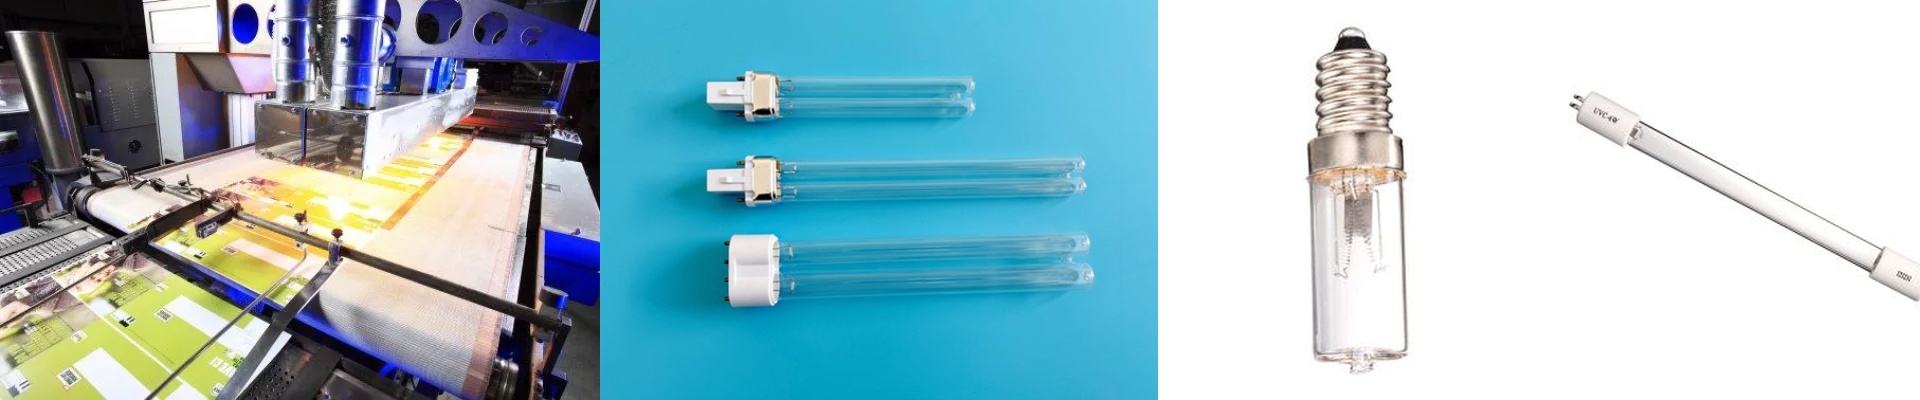
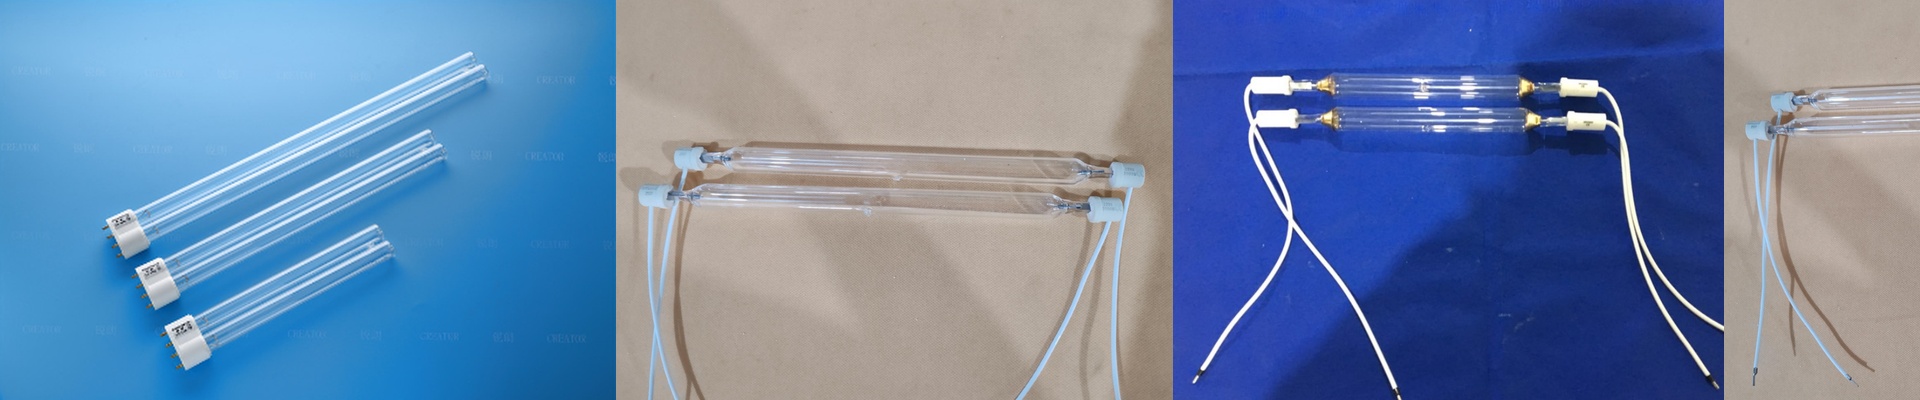
Getting the Most Out of Your Mercury UV Lamps
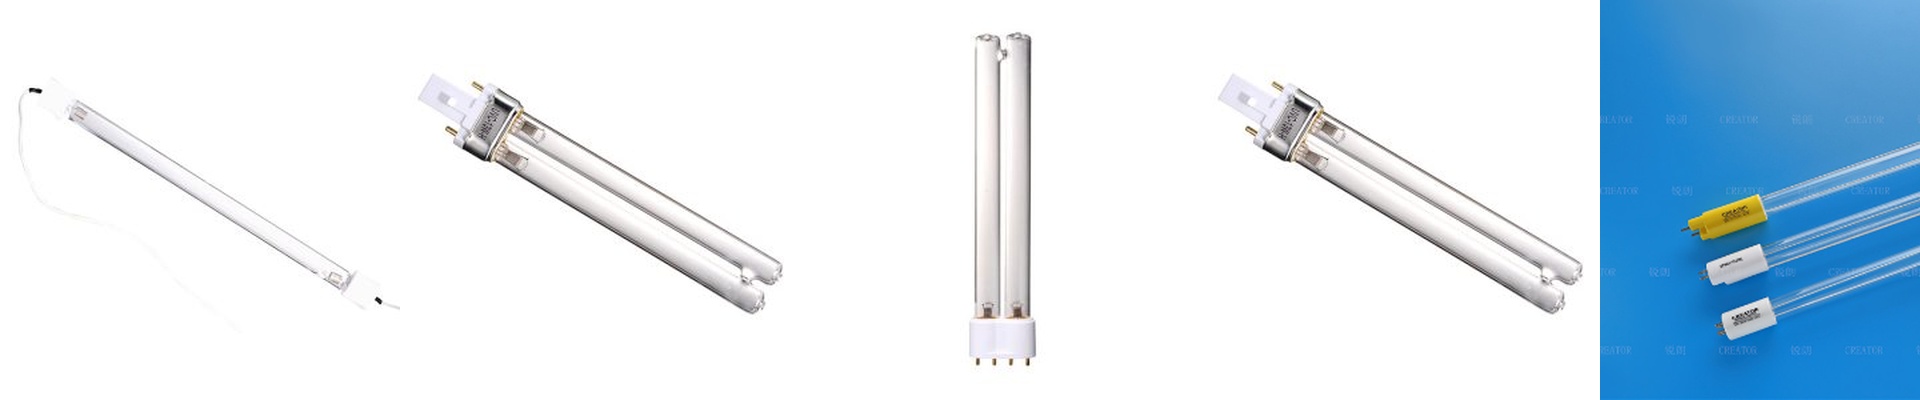
We build our mercury UV curing bulbs to hit those exact spectral peaks you need to get your photopolymers to set. It’s a pretty straightforward process: an electric arc jumps through mercury vapor, and boom—you’ve got ultraviolet radiation.
Finding the Sweet Spot: Power and Output
Most of our work centers on the 254nm and 365nm lines. We tune these bulbs so the UV light actually gets deep into your coating without cooking the material underneath. Here’s the thing: if you cram a high-wattage tube into a tiny space, you’ll get a massive blast of energy. But you’ll also probably burn the edges of your parts. It’s all a balancing act between your wattage and how fast your line is moving. Sure, cranking up the power density makes the cure cycle faster, but it puts a lot more stress on the quartz.
Why the Glass Matters
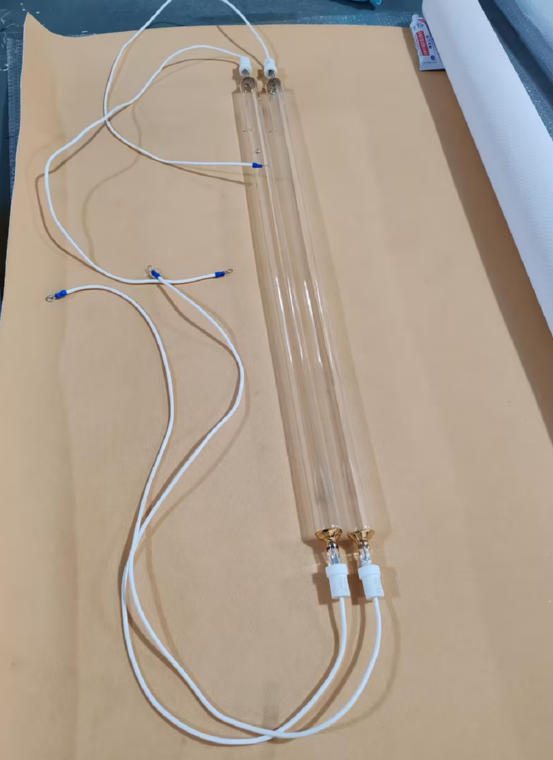
We use high-purity fused quartz for the tubing because standard glass just blocks the UV. Quartz lets it slide right through. It also handles the “thermal shock” of turning the system on and off quickly. I’ve seen cheap substitutes literally crack the moment the arc stabilizes. Our tubes hold up under the heat, but you’ve still got to keep your reflectors clean. If dust builds up, your efficiency tanks and the bulb runs way hotter than it should.
Making Them Last
These are designed to be simple drop-in replacements for your existing UV arrays. We spend a lot of time on the electrode geometry because that’s usually where bulbs burn out first. When you’re wiring them up, double-check that your ballast matches the voltage requirements. If you over-volt the system, you’ll see a nice little spike in output for a minute, but you’re basically chewing through the electrode coating. It kills the lamp life. Just keep in mind that UV output drops off linearly over time. Your best bet is to keep an eye on the mW/cm² so you know exactly when it’s time to swap them out.