Getting Your UV Curing Right
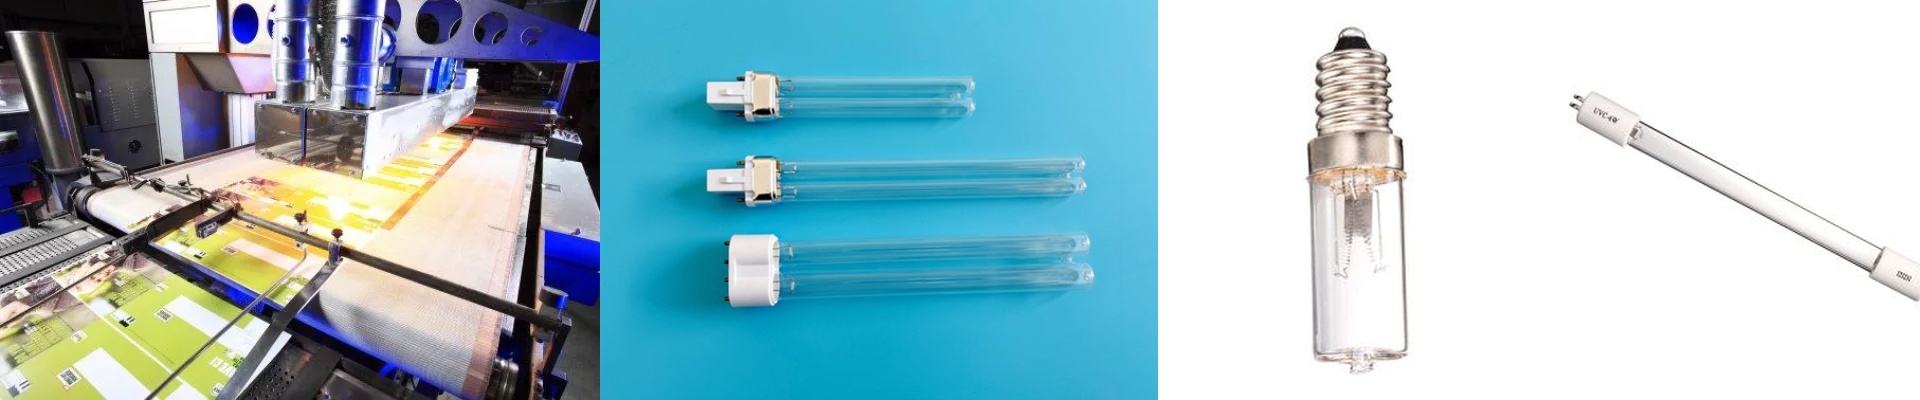
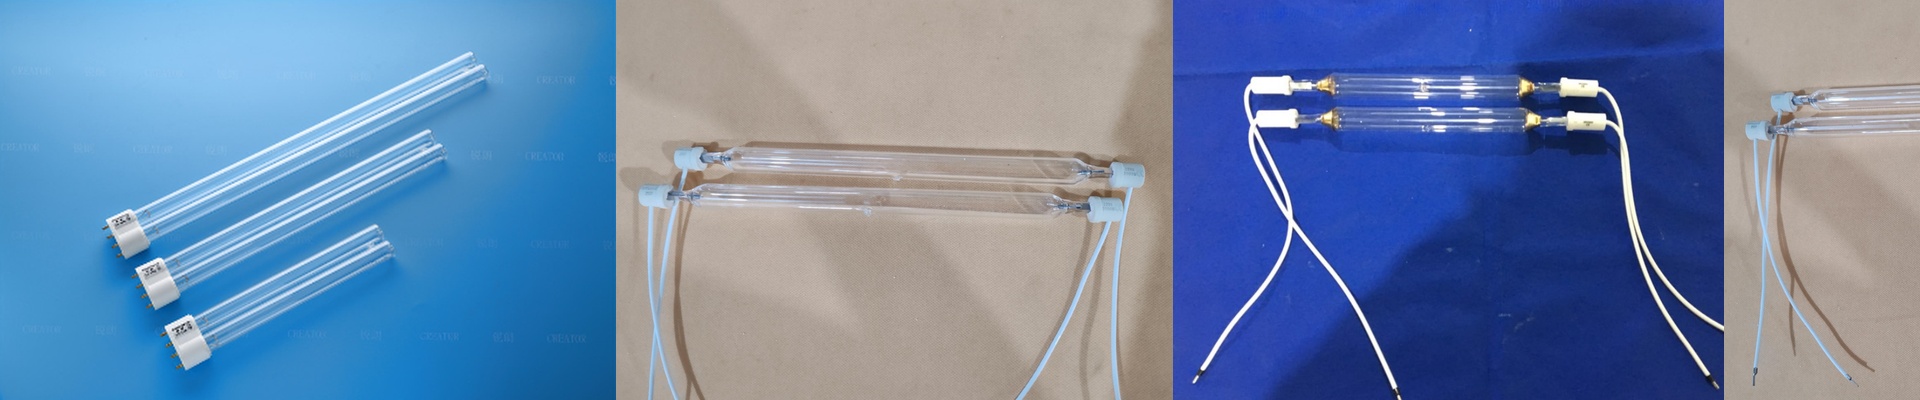
Ever wonder how a high-speed print stays crisp without smearing the second it hits the conveyor? It’s all about that split second where the ink freezes. That’s where our lamps come in. We don’t just make “lights.” We make the specific energy needed to trigger a chemical reaction that turns liquid ink into a solid, durable finish in milliseconds.
The Science (Without the Boring Part)
Here’s how it works: your ink has “photoinitiators” in it. When our lamps hit those initiators at exactly the right wavelength, they snap together to create a tight, cross-linked network. It happens fast. Really fast. But if your lamp starts to fade or the spectrum drifts, you run into trouble. You get “under-curing.” That’s the nightmare scenario where the ink smears or just peels right off the material. Not a great look for the final product.
Power, Heat, and the Trade-off
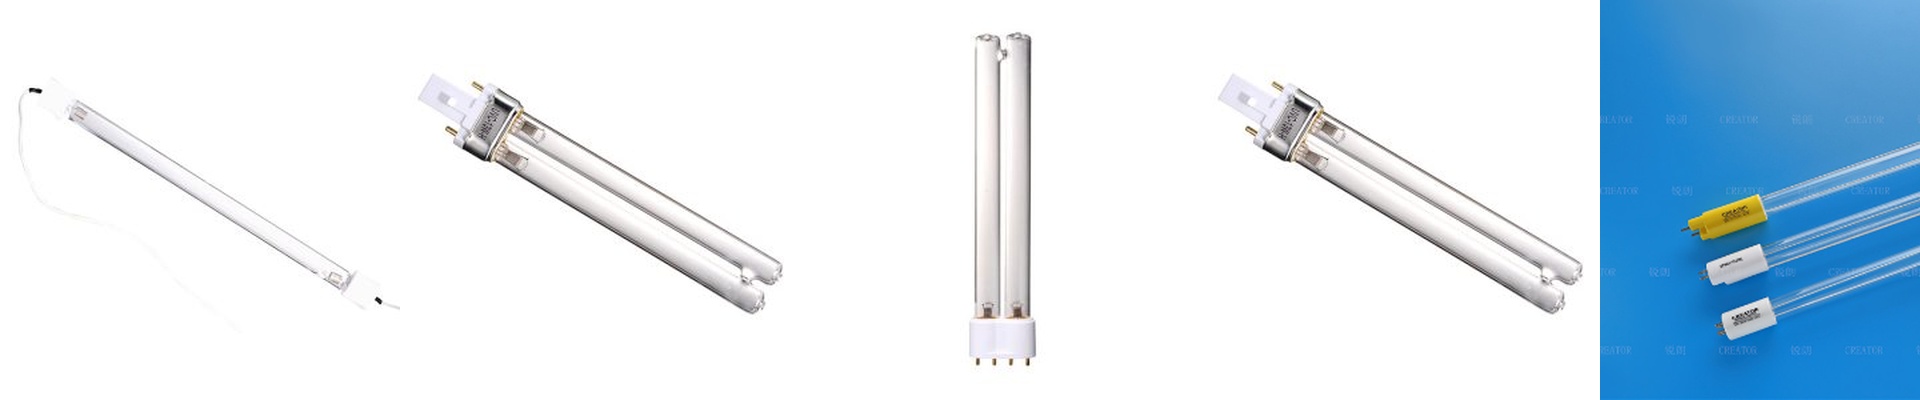
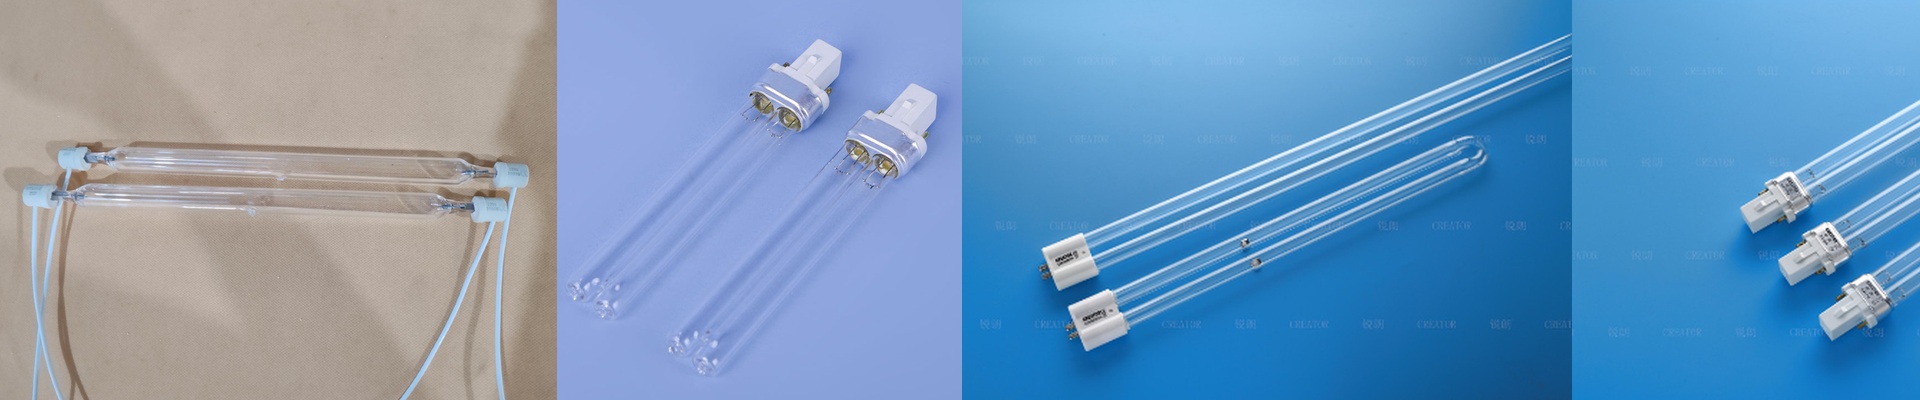
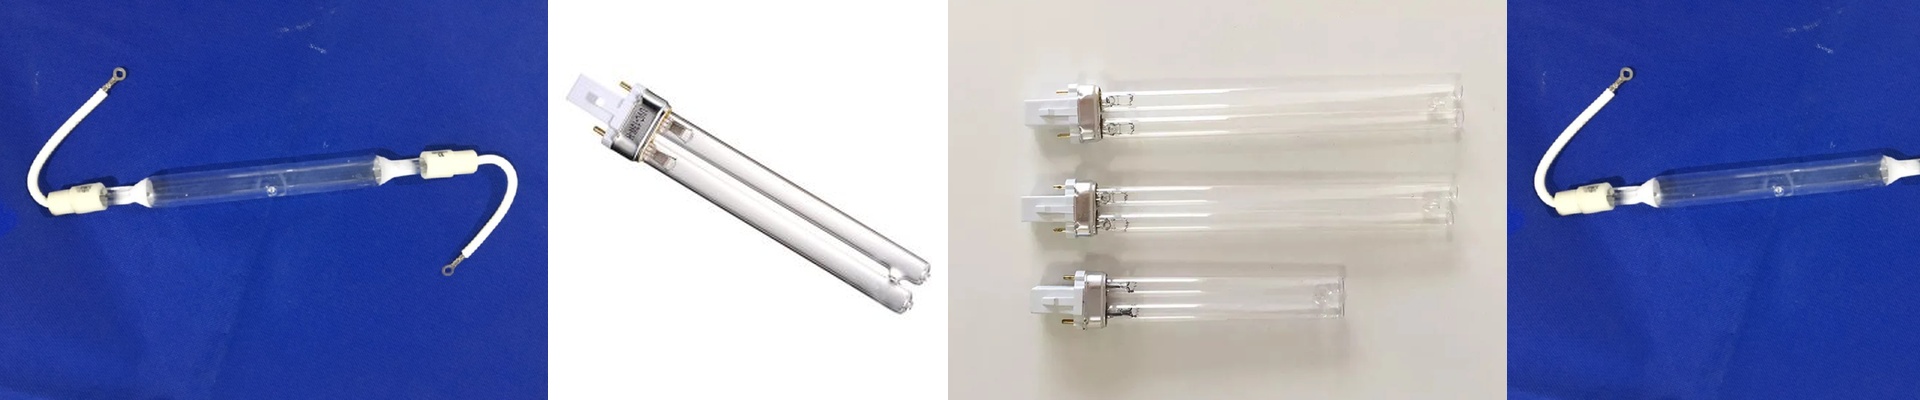
If you want to crank up your line speed, you need more power. Simple as that. More wattage means the ink cures faster, which means you push more product out the door. But there’s a catch. Squeezing all that power into a small quartz tube creates a ton of heat. If your cooling fans or water-jackets aren’t up to the task, things go south quickly. You’re looking at cracked quartz or electrodes that burn out way too soon. It’s a balancing act.
Keeping Things Simple
Nobody wants to spend their afternoon rewiring a whole rack just to change a bulb. That’s why we use standardized footprints. You just swap the old one out and drop the new one in. Done. We also obsess over the stability of the arc. If the light flickers, you get “striping” across your prints. It ruins the finish and wastes material. One last tip: double-check your ballast. If the voltage from your ballast doesn’t match the lamp, you’ll fry your electrodes in a fraction of the time they should last. We’ll give you the exact electrical specs so you can get it right the first time.